PopJam is our COPPA and GDPR-K compliant, safe-social content platform built specifically for kids. It’s used by hundreds of brands, content-owners and YouTubers to interact directly with under-13s as an alternative to platforms like Facebook, Instagram and Snapchat (which aren’t designed for kids).
Under digital privacy laws like COPPA and GDPR-K, the face of a child is deemed personally identifying information. So unlike Snapchat or Instagram (which are over-13 platforms), we had to find an approach to allow kids to post selfies, without ever disclosing their identity.
Our solution was quite obvious in retrospect. GIFs! We have a number of animated sticker packs which are popularly used by kids to obscure parts of their faces. These animated stickers are applied on a separate layer on top of the original picture. In other words, if you were to remove the sticker layer, you would be able to see the original image in the background, uncovering the child’s face.
For this reason, our methodology involves applying Sticker Masks to the image, merging them with the original image, in order to guarantee the anonymity of the user in the image. The Masks cannot be removed, and the identity of the child cannot be revealed.
What is a Sticker Mask?
If you have a GIF animation, like the mouth in the example above, its corresponding Sticker Mask is a static image of the same shape.
It applies opacity only for the pixels that are never transparent in every frame of the original GIF. In other words, a sticker mask put behind an animated GIF will never be visible throughout the whole animation – but if the GIF was removed, it would continue to protect the child’s anonymity.
For the example above, applying Sticker Masks to the original picture results in the following background picture for the PopJam post.
How is a mask created?
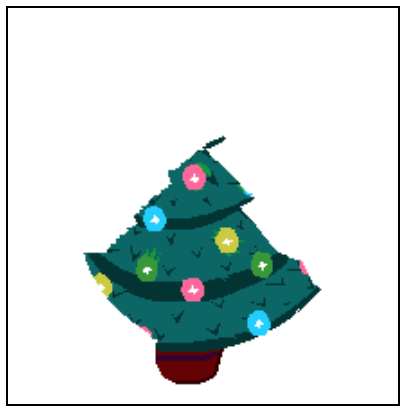
The following animated GIF from our animated Christmas sticker pack will be used to explain the Sticker Mask creation process:

The command line graphics tool ImageMagick will be used in different steps of the process.
Step 1: Gathering info about the GIF
The ImageMagick identify command can be used for getting all the necessary information for the different frames of the GIF.
This command will get information for every frame in the GIF, including the following parameters:
- size of the frame
- offset position of the frame
- the color channels: this will provide information if transparency is used or not. In case transparency is not used, the final mask could be just the first frame.
- the dispose method, which indicates how a frame should be displayed depending on previous frame history.
For the sake of simplicity, in this example every frame will have the full size of the GIF, and will replace previous frames. For GIFs with other disposal methods and frame sizes, the process can be done in an analogous way, by computing for each step the resulting full frame first.
This is the information that results from running the command for the example GIF:
Step 2: Getting separated frames
Once the information about the frames is obtained and parsed, you must retrieve all the separate frames, which can be done by running the following ImageMagick command:
This will save every frame as a separate file like this:
Step 3: Computing an alpha mask for every frame
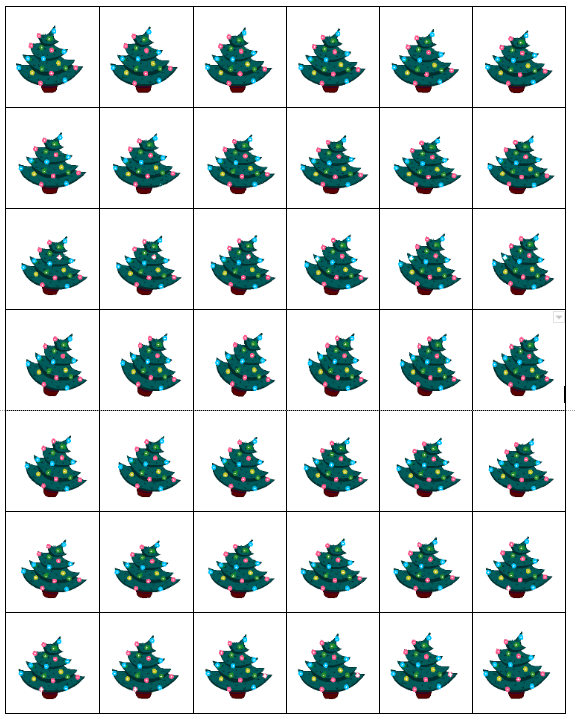
Now, an alpha mask has to be computed for every frame. This mask will have a boolean value that will be false for every transparent pixel, and true otherwise. This can be stored as a vector or an array. It can also be represented graphically as an alpha mask as shown in the following graph, where false values are represented with black pixels and true values are represented with white pixels:
Step 4: Computing the final alpha mask
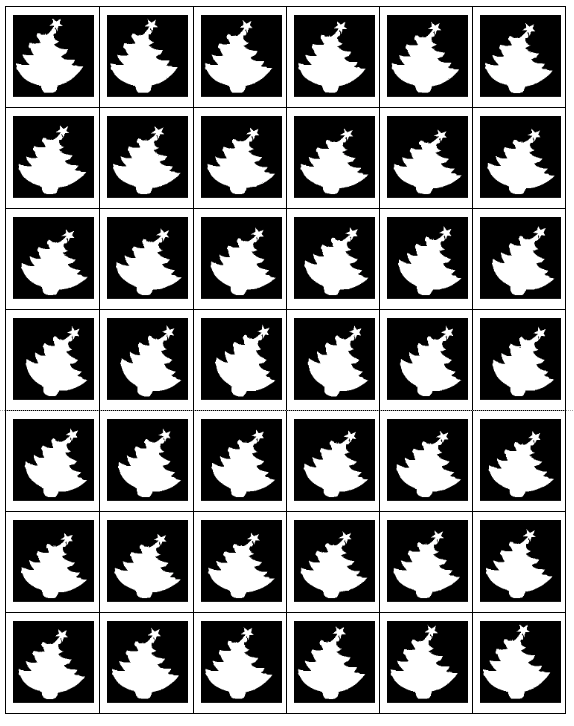
The final goal is to create an image that is opaque only for those pixels where it is always opaque in the animation. This can be computed by performing the boolean AND operation for all the previously generated alpha masks pixel by pixel, which gives the final result:

Step 5: Merge final alpha mask with key frame
This last step would normally consist of just turning the black pixels into transparent pixels, but this can be improved upon. The stickers can be resized and rotated. When doing this, the algorithms applied might do some pixel interpolation that could result in a few pixels of the mask being visible behind the animated sticker.
For that reason, the white pixels would not be the best solution, and instead it would be better to pick the most representative frame and substitute those white pixels for the original ones, resulting in the final Sticker Mask:
The following animation shows the sticker mask behind a fading sticker to visualize the final result.
PopJam servers compute Sticker Masks and apply them to all the creations from the users that contain a photo and animated stickers, helping to keep our community safe.
(If you’re interested in staying on top of technology and kidtech news, we publish several kids industry newsletters which now have over 10k subscribers reading monthly. Sign up now!)
Javier Rodríguez-Uría is Team Tech Lead at SuperAwesome.